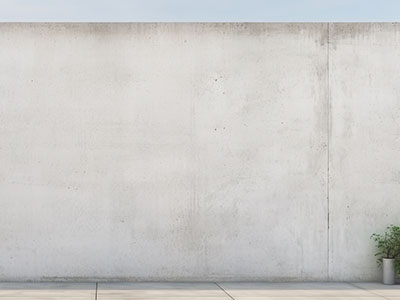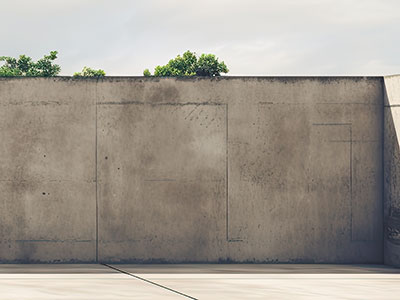
Cast-In-Place Retaining Walls
Our company was founded on the idea that grading land and installing retaining walls can turn unproductive land into useable space. You may own land or want to buy land in an area with insufficient flat area or gradually sloping ground to build your structure or use as you desire. We are here to help.
The footing and rebar are the most important aspects of a Cast-In-Place (CIP) wall. They must be of adequate size and strength to support and strengthen the wall to withstand the retained soil’s pressure. Water management is also crucial to the wall’s life. We are building a retaining wall… not a dam. The number one reason a wall fails is hydrostatic pressure. A properly installed French drain and behind-the-wall water management is critical for any retaining wall to pass the test of time.
All engineering and construction aspects of a cast-in-place wall are important. Beginning with a sub-grade that is compacted and stable, the footing size, the rebar size and spacing, the concrete mix design, and the drainage system and proper water management all equal a successful project.


Six steps to building a cast-in-place retaining wall.
1
Contact 811
Building the retaining wall always starts with us contacting the state locating service to avoid damaging any buried utilities. This simple required step avoids potentially catastrophic injuries to life and possessions.
Disturbing the Land
Check that grading is within an inch or two of the land’s ultimate grade. We don’t expect the ground to be final graded, since we will disturb it while we do our work. The land will be disturbed during the wall’s installation. No “collateral damages” to any trees, structures, or surfaces should be expected unless they have been discussed and agreed upon in writing.
Installing the Footing
We typically require commercial project layouts to be done by others. We work directly with homeowners to be sure we are doing what they want by making any final adjustments before we start digging the site. We paint the footing’s path on the ground and place offset markers to retain the path once the path has been dug. The footing width and depth and rebar size and layout increases as the wall height increases.
Building the Wall
Once the footing is installed, the forms are set and the rebar is installed in the vertical portion of the wall. The specified concrete is then installed using a vibrator to insure all voids are filled. The forms are typically removed a few days after its installation.
5
The Finishing Touches
The wall is typically faced with the proper material, the backfill and French drain are installed, and the soil is graded. This is when PGMC is completed with commercial projects. If a residential customer requires an irrigation system, sod installation, or a fence or railing, we can assist our customers with their needs. You should be able to inspect your new wall and view it like a piece of art, worthy to behold and enjoy for decades into the future.
6
Maintaining Your Retaining Walls
Maintain healthy sod or hard surfaces. Don’t let waterways hit your retaining wall unless it is designed for a waterway. Gutter and downspout drain lines should be maintained. Water and erosion control determine the success of any retaining wall. Finally, avoid using heavy machinery near the wall, especially in wet conditions. The equipment can apply lateral pressure from further away than expected.
